zhengjianrong
Oct 14, 2026
Miniature Gold Weathering Tutorial|Say Goodbye to the "Toy Look" with an Aging Wash
Creator:Ryan
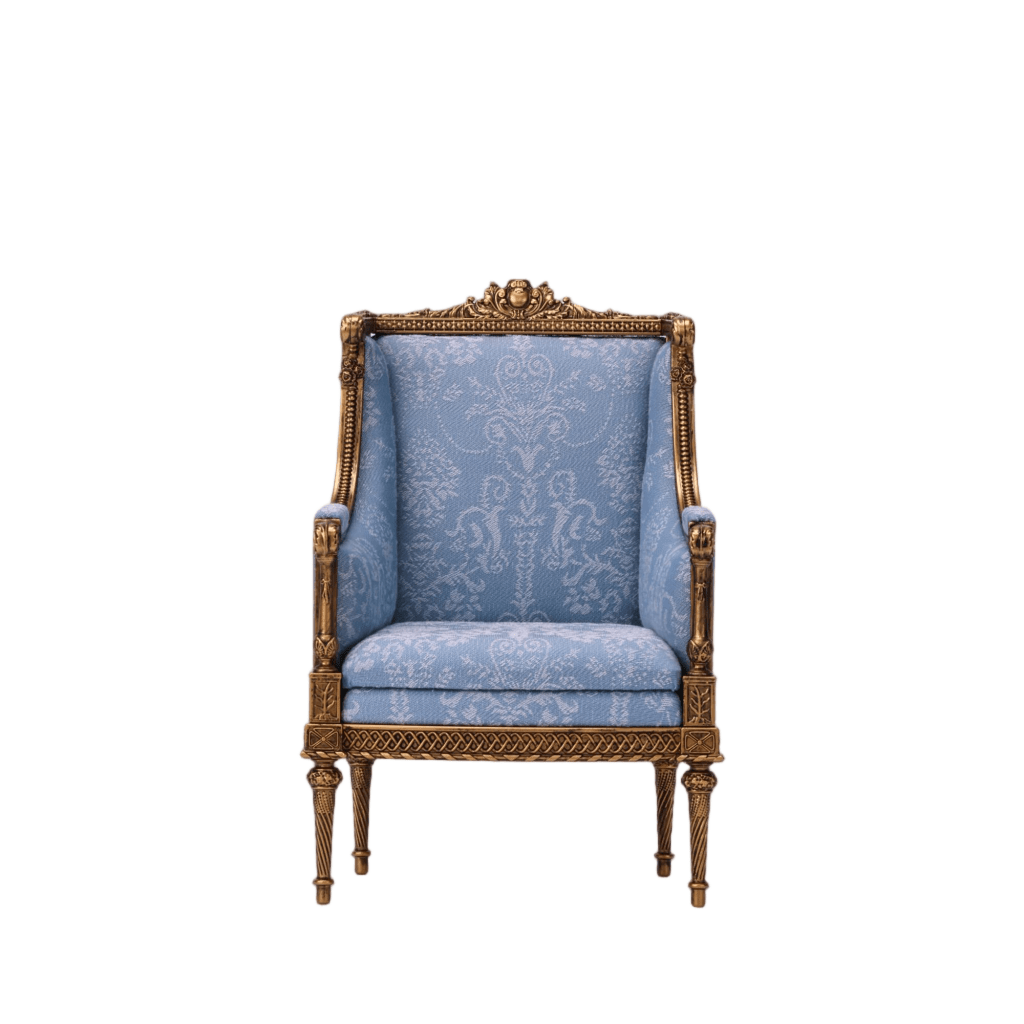
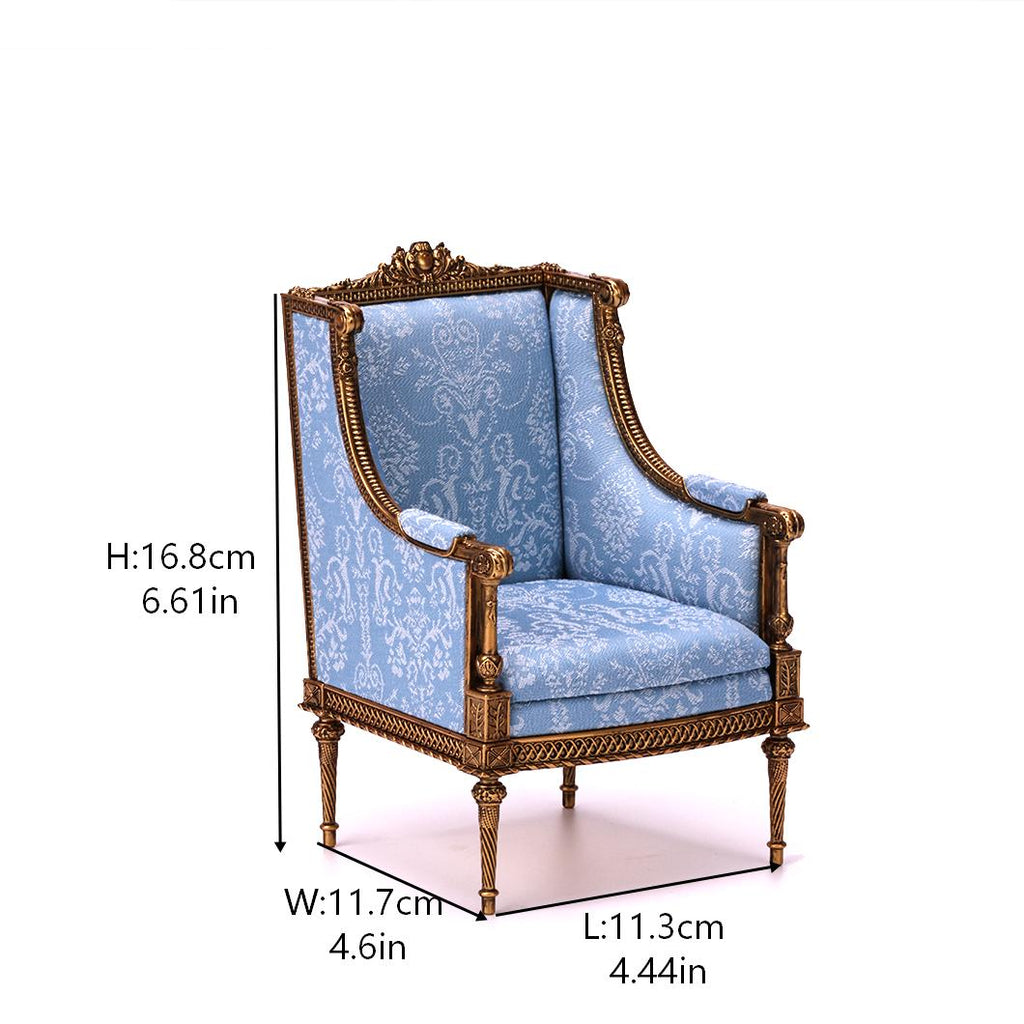
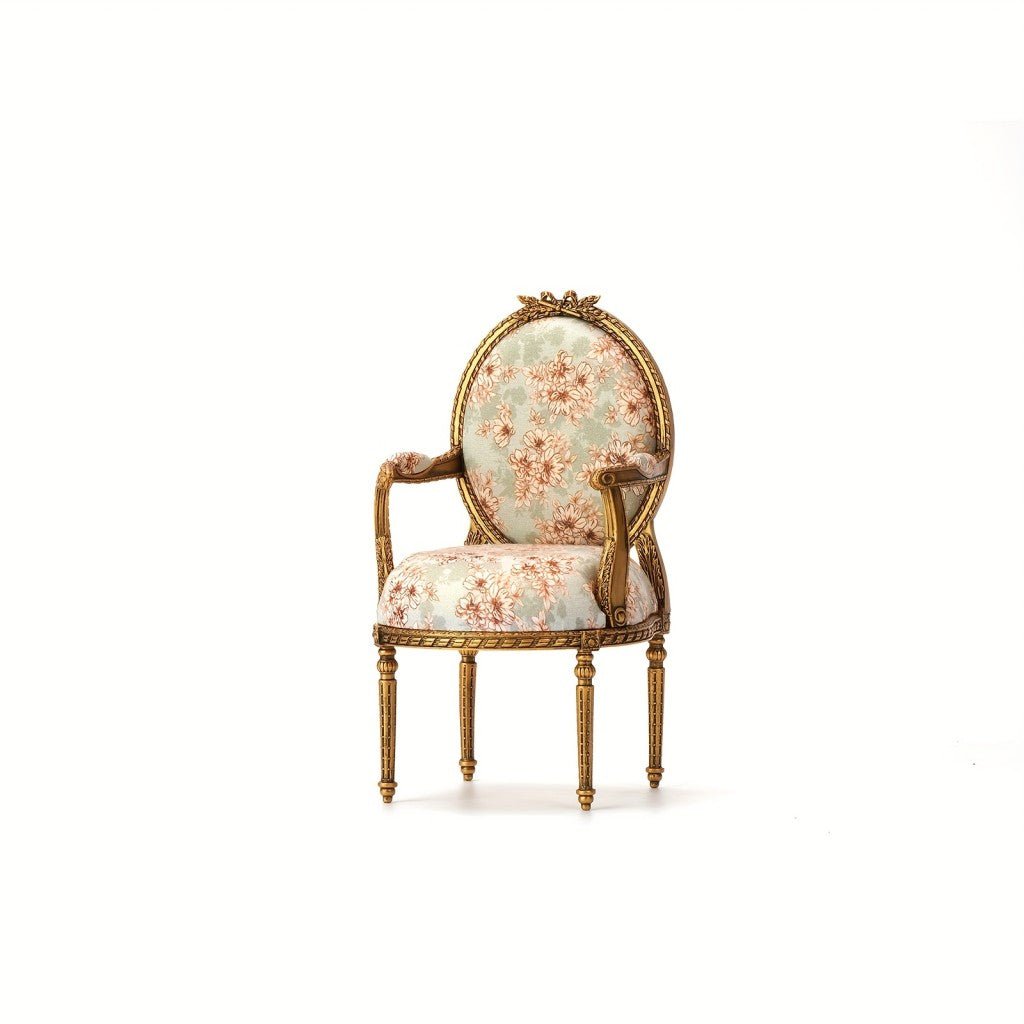
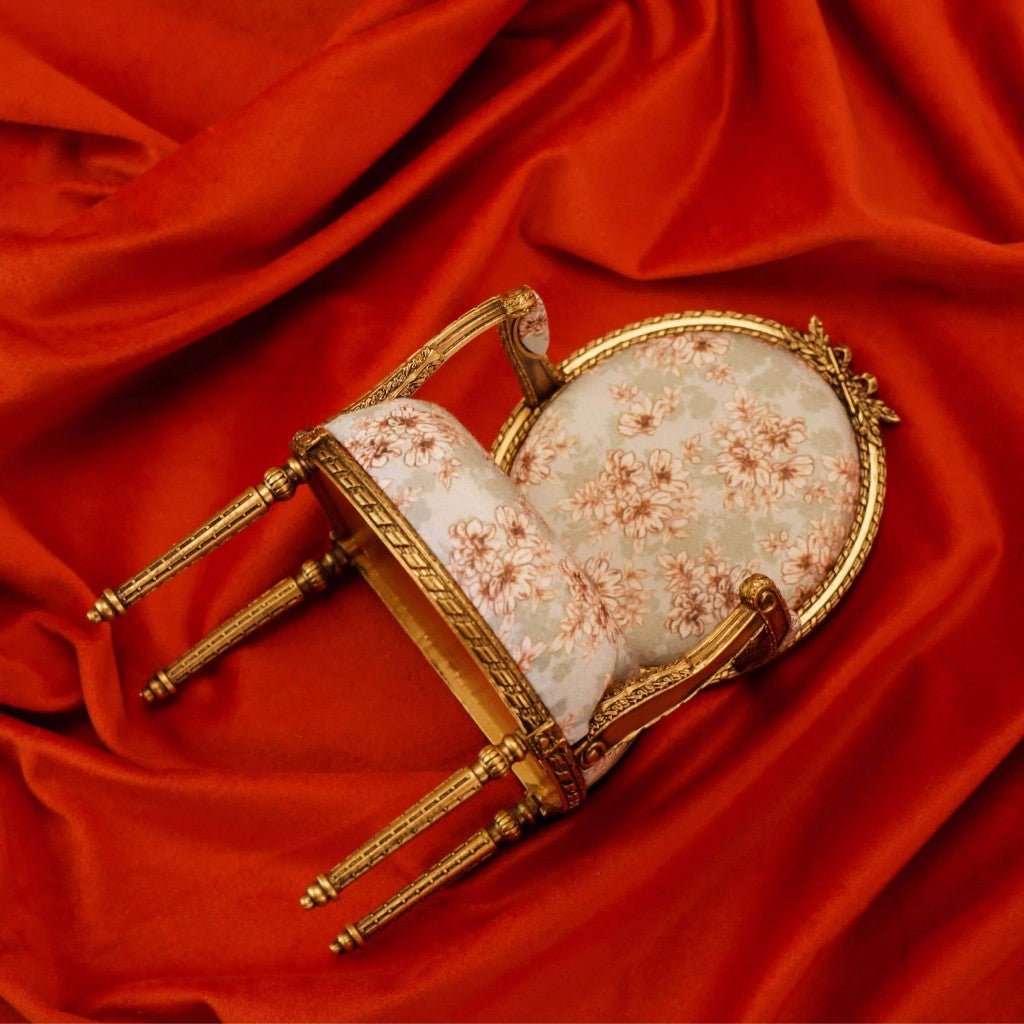
Finished a gold miniature and it looks too shiny, too fake, too plastic? The problem isn't the gold leaf or gold paint itself — it's the lack of weathering. Real antique gold doesn't glow evenly; dust settles in the crevices, edges oxidize, and the whole piece carries a darkened, aged tone. One thin wash of aging liquid (wash) over the gold, then a light wipe of the surface color, instantly gives your 1:6 dollhouse furniture a cinematic, vintage metal texture.
Why Does Gold Miniature Furniture So Easily Look Like a Toy?
When people first get into dollhouses or food-toy scenes, they're drawn to shiny gold furniture: little chairs, side tables, carved mirror frames — spray on a coat of gold and it sparkles. But in photos it still reads as a toy. Three reasons:
Too even in color: Real metal shifts light and dark through oxidation and friction, while sprayed/painted gold is "flat all over."
No shadows: Carvings, seams, and grooves have no dark deposit, so the sense of depth is cut in half.
No trace of time: The "glaring new-gold shine" and the warm patina of old gold feel completely different.
This is what the miniature community calls the "plastic look." The key to fixing it is weathering / aging.
What Is Gold Weathering? The Model World Calls It Wash / Pin Wash
In miniature painting, dollhouse furniture, and BJD accessory circles, weathering usually goes by three names:
Weathering: A general term for making a new item look used and aged.
Wash: Applying a diluted dark liquid over the model surface, letting capillary action pull it into the recesses, then wiping off the surface color.
Panel line wash: Emphasizes leaving the dark liquid in seams, carvings, and joints to form shadow lines.
For gold miniature furniture, the most common method is the wash: use a black, dark-brown, or India Ink diluted liquid over the gold surface, then wipe the raised areas, leaving the dark only in the recesses. That single step turns "flat" into "three-dimensional."
How to Make an Aging Wash? Three Common Recipes Compared
Aging liquid
Effect
Beginner-friendly?
Notes
Black/brown acrylic + water
Controllable color, but prone to water marks on flat areas
Medium
Needs practice on dilution ratio
Dark enamel/oil paint + turpentine
Good flow, easy to wipe after drying
Medium
Strong odor, needs ventilation
India Ink diluted liquid
Warm brown-black when diluted, extremely fluid, leaves shadow only in recesses
Recommended
Dilute heavily with water or alcohol; very thin, natural shadow
Step-by-Step: Weathering Gold Furniture with an Aging Wash (with Material Kit)
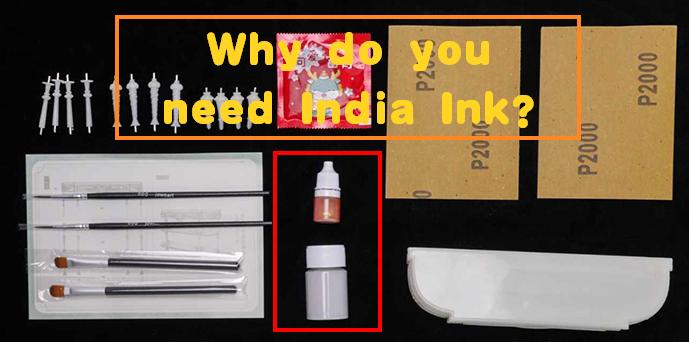
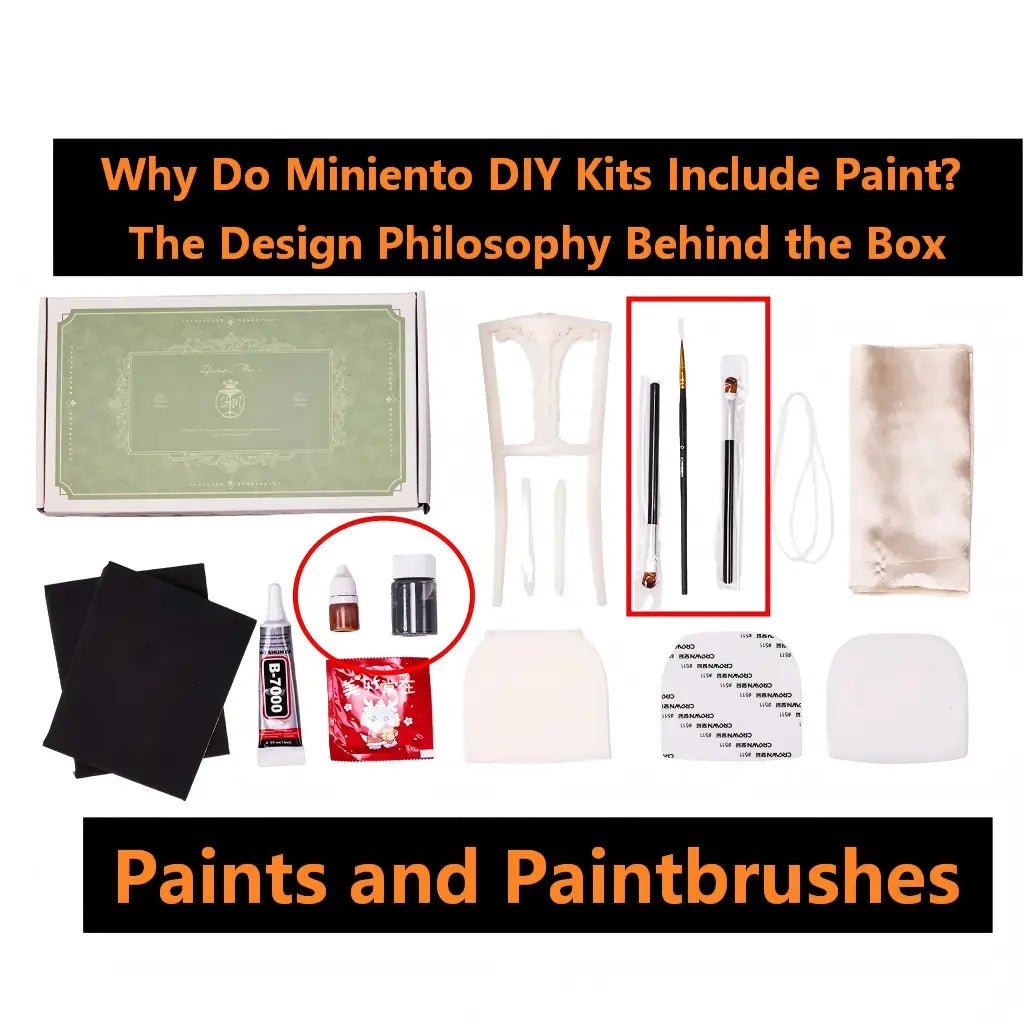
If you're using our 1:6 Scale Shelf Kit, the aging liquid, fine brush, wiping pad, and P2000 sandpaper are already included. Just follow these 4 steps:
Step 1 — Finish the Gold Base
First smooth the white model parts (lightly sweep the edges with the P2000 sandpaper from the kit), then spray or brush on gold primer / apply gold leaf. Wait for it to fully dry. The base color decides whether the final result is "bright gold" or "matte vintage gold."
Step 2 — Thinly Apply the Aging Liquid
Using the fine brush from the kit, pick up a small amount of aging liquid and brush it thinly and evenly across the entire gold surface. Keep the liquid diluted — better to apply two thin layers than one thick smear.
Step 3 — Let the Liquid Seep into the Recesses
Rest for 10–30 seconds and you'll see the dark liquid flow on its own into carvings, seams, and screw holes — the low points. This is the heart of the wash: capillary action paints the shadows for you.
Step 4 — Gently Wipe Off the Surface Color
With a clean pad or tissue, wipe the raised areas in one direction. After wiping, the dark stays only in the recesses while the gold flat recovers its shine but with a subtle darkened tone. If too light, repeat Steps 2–4; if too dark, dab a little thinner on a cotton swab to correct.
Before & After: Why Weathered Looks More Real
Compare the two test pieces:
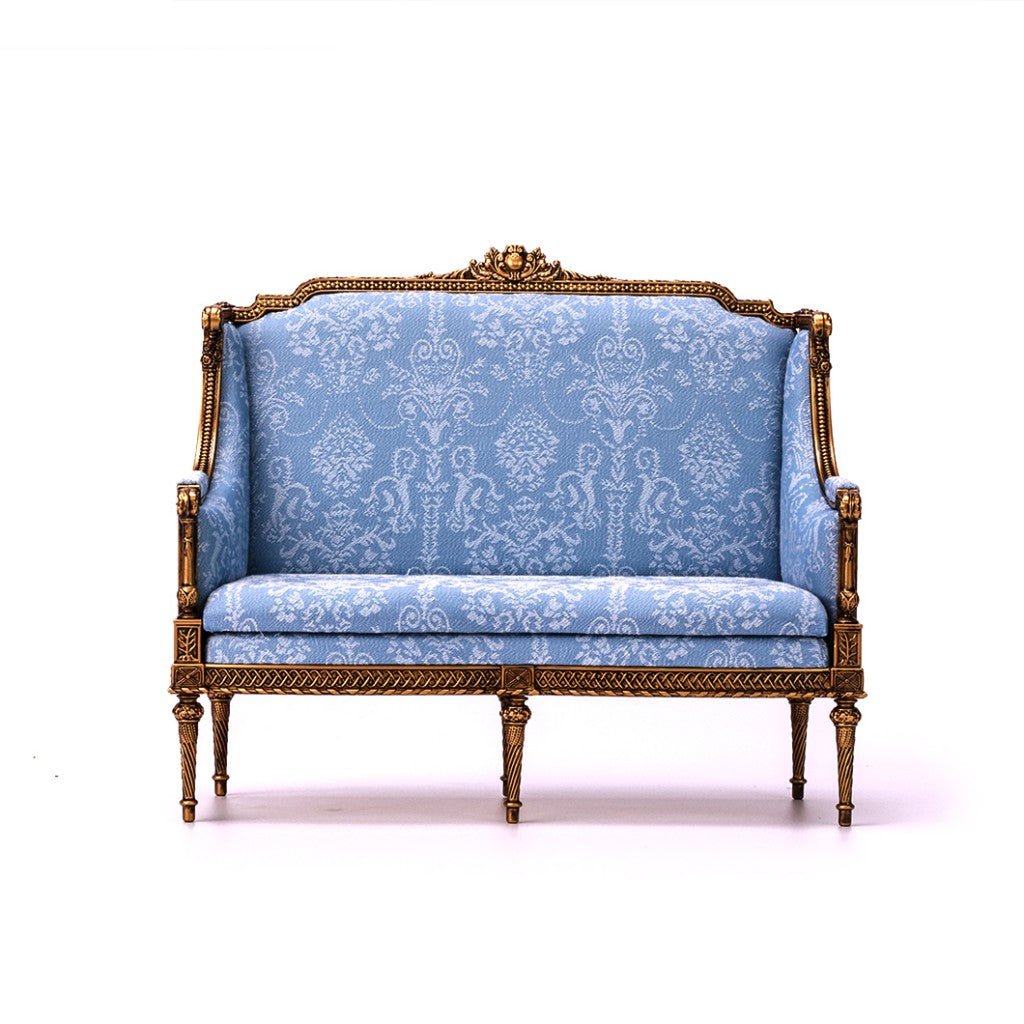
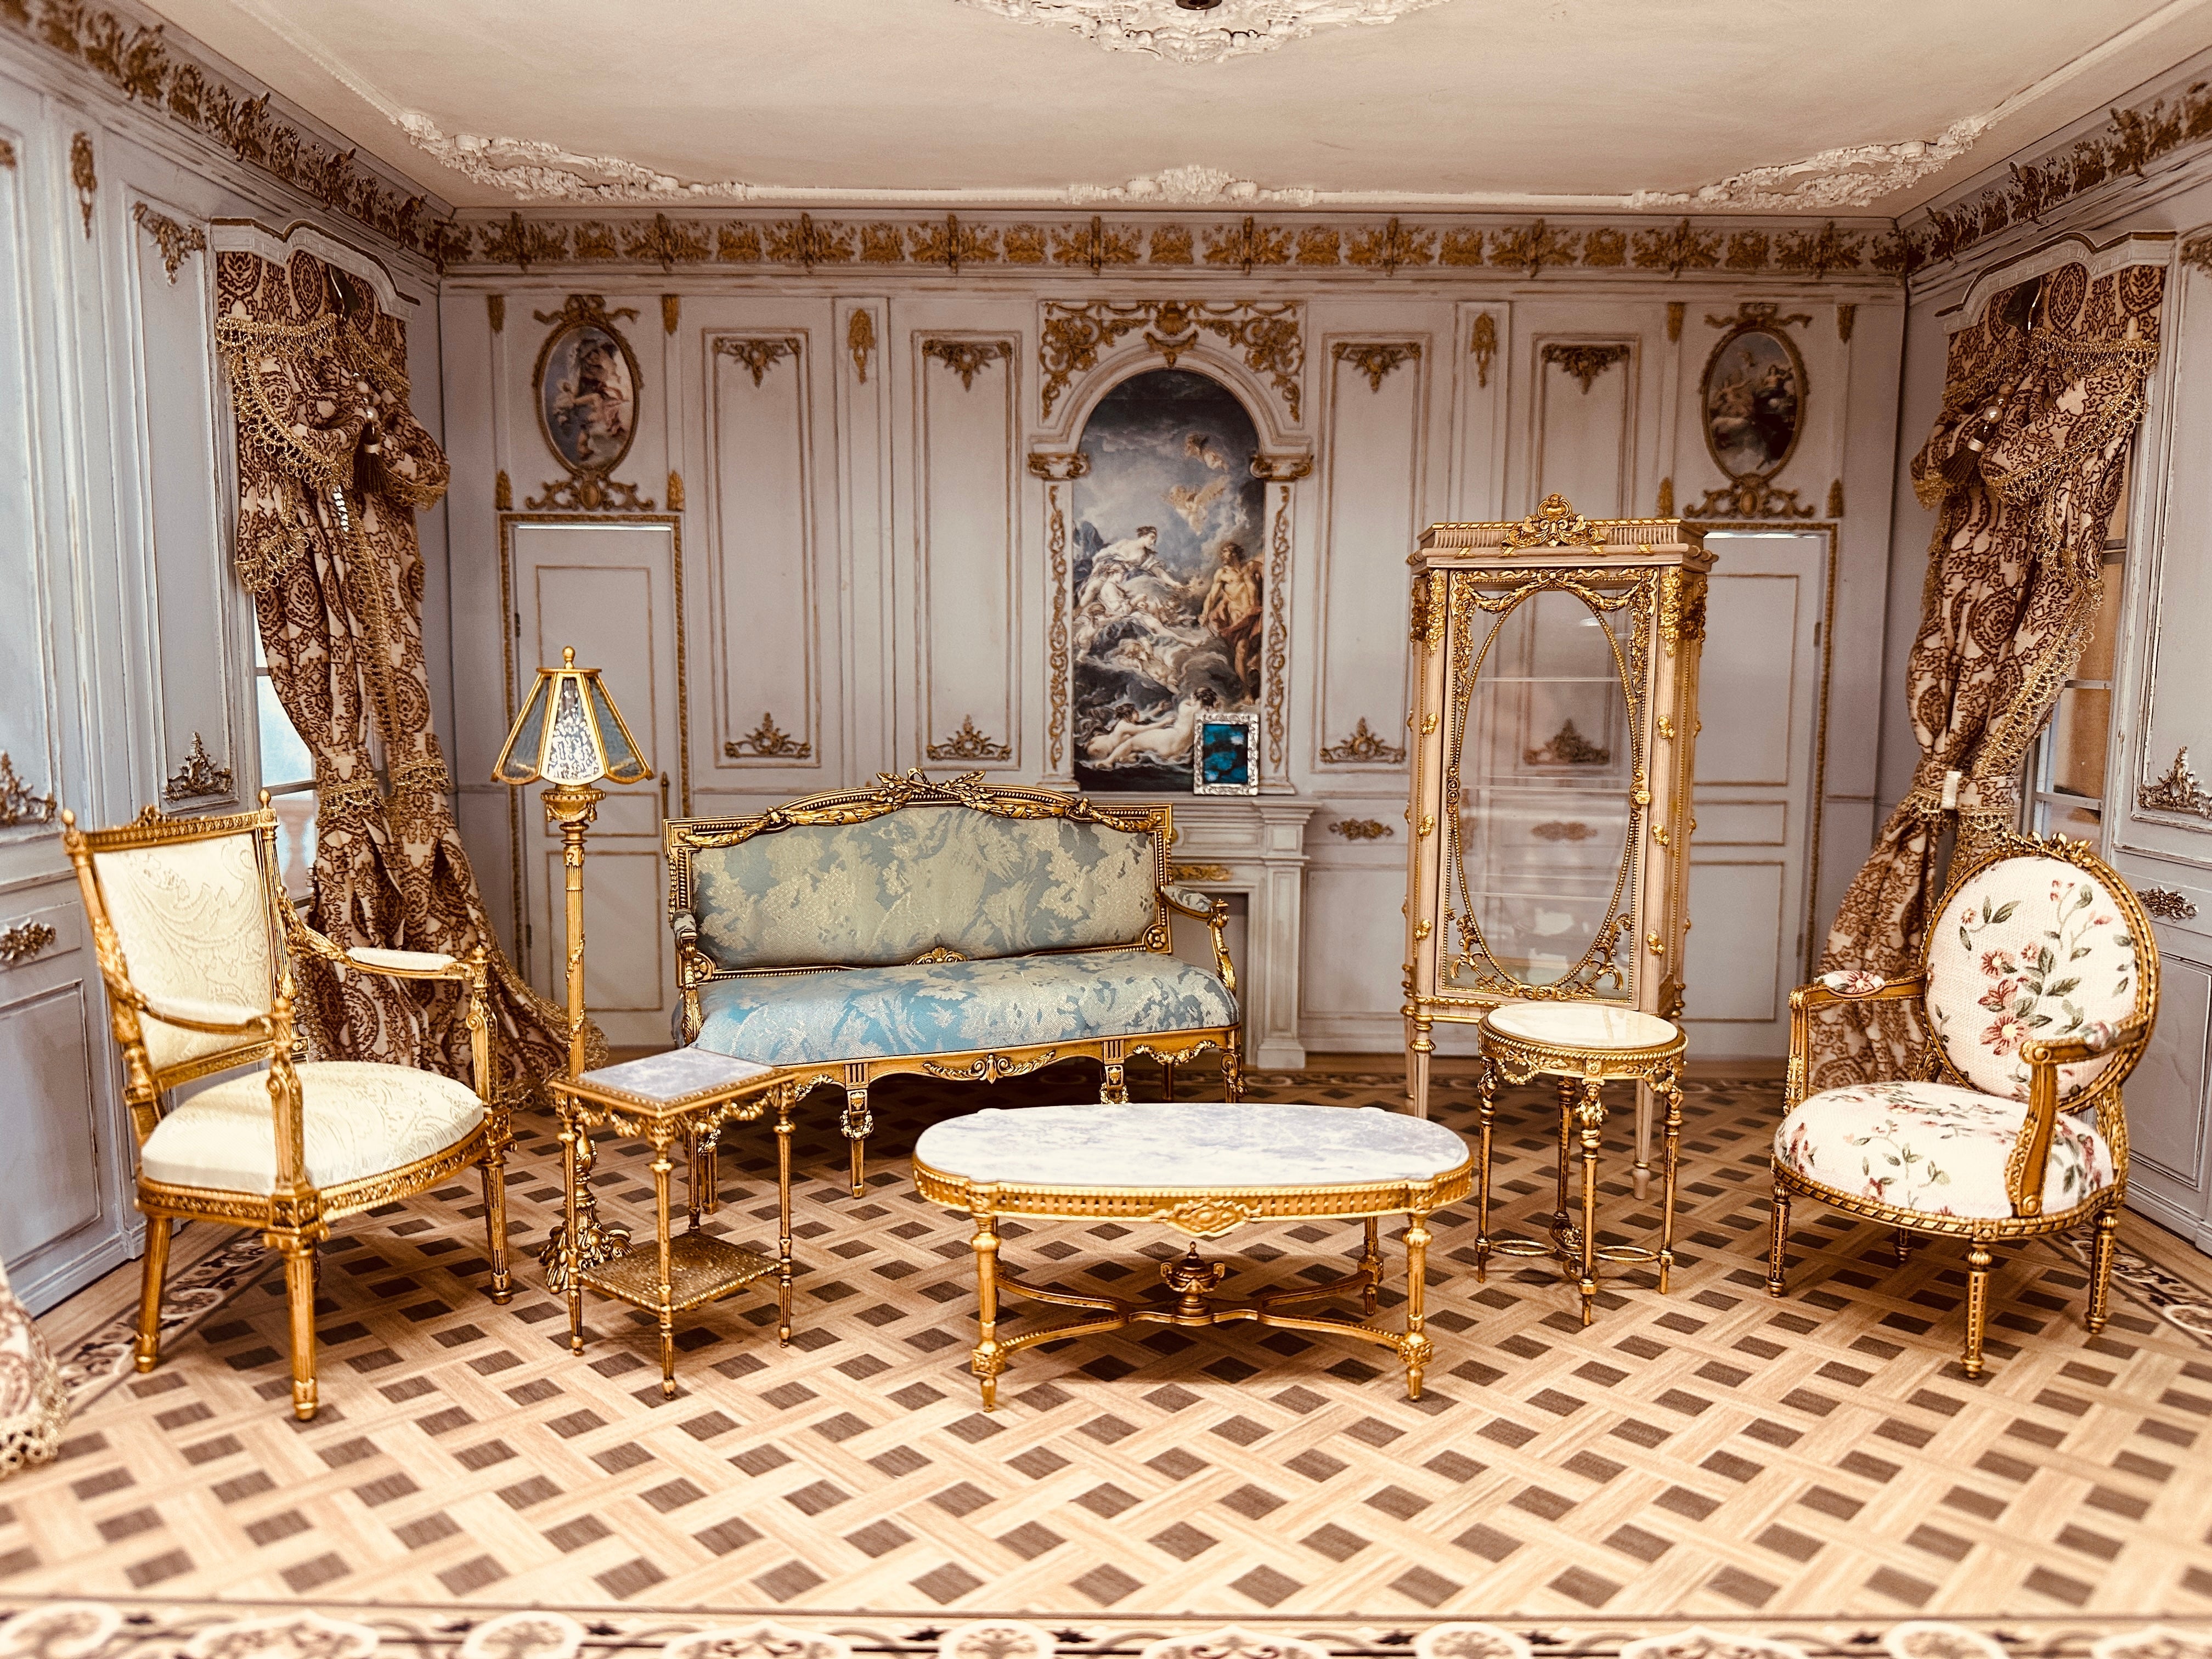
Left (un-weathered): The gold chair glows uniformly with no light-and-dark variation — instantly recognizable as "freshly factory-painted plastic gold."
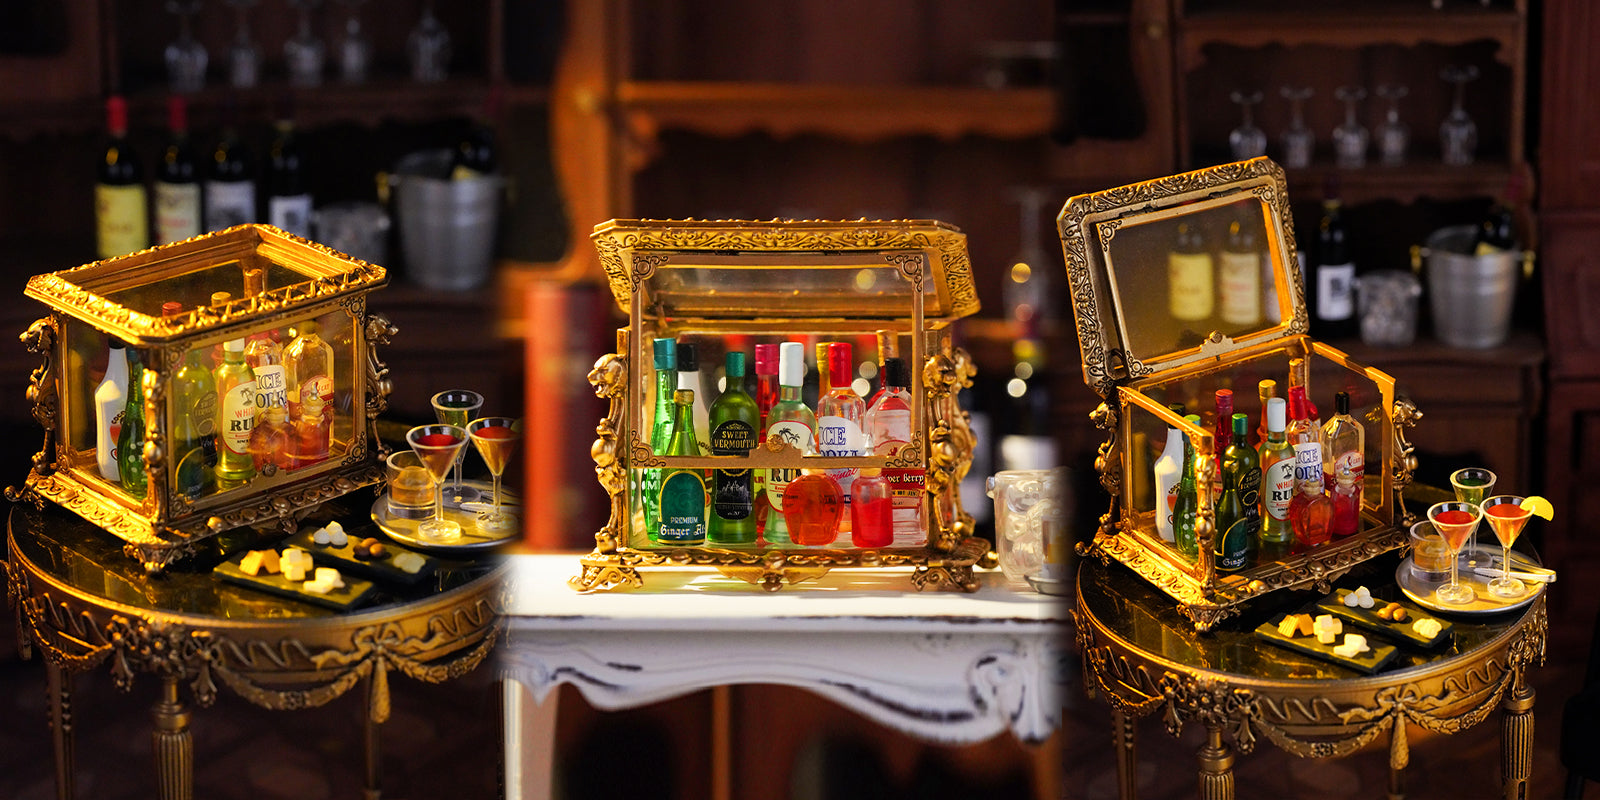
Right (weathered): The carved gold side table has deep-brown shadows settled in the recesses, while the raised surfaces keep their gold sheen, showing an overall warm, time-polished metal feel.
This is the true role of the aging liquid: not to dirty the gold, but to give it layers, a story, and realism.
Advanced Tips: Make the Weathering More Natural
Layered buildup: First brown, then black, then a touch of rust color, to mimic different oxidation layers over time.
Dry-brush highlights: With an almost-dry gold paint, lightly sweep the raised carving edges to create high-frequency wear highlights.
Local sanding: Use P2000 sandpaper on frequently touched spots (chair legs, table edges) for slight exposed-base wear, mimicking real use.
Consistent light for photos: After weathering, side lighting best reveals the recess shadows and makes product shots more textured.
Frequently Asked Questions
Q1: Will the aging liquid completely cover the gold?
No. Done correctly ("thin apply + light wipe"), the liquid stays only in the recesses and the raised areas remain gold. If it covers, you applied too thickly or wiped too late.
Q2: Can I weather with only a brush, no airbrush?
Absolutely. A brushed gold primer works fine for washing once dry. Just keep the brush layers thin and even to avoid buildup that blocks the wash flow.
Q3: Does this work for both 1:6 and 1:12 dollhouse furniture?
Both. 1:6 furniture has larger carvings, so the liquid can sit a bit longer; 1:12 is finer, so dilute more and move faster to avoid over-darkening.
Q4: What color is the aging liquid in the kit, and what style does it suit?
Usually dark brown / black-brown, suited to vintage, French country, Victorian, and antique-shop styles. For a bright modern dollhouse, reduce the amount or skip weathering.
Q5: Can I re-apply gold after weathering?
Yes. If some raised areas got wiped too dark, dry-brush a little gold back on. Weathering is reversible and buildable — beginner-friendly.
Q6: Can this technique be used on food toys or other mini ornaments?
Yes. Any gold-surface miniature — mini photo frames, small candlesticks, food-toy tray borders, BJD accessories — can be wash-weathered for more realism.
Closing
Gold weathering isn't about making things dirty; it's about adding a layer of "time" to your miniature furniture. One bottle of aging liquid, one fine brush, a few wipes — and the plastic-looking gold paint becomes a warm antique gold. If you're still troubled by unrealistically shiny dollhouse furniture, start with this one bottle of aging liquid. Check out our 1:6 Scale Shelf Kit — gold base and aging liquid are pre-packed, ready to use right out of the box.